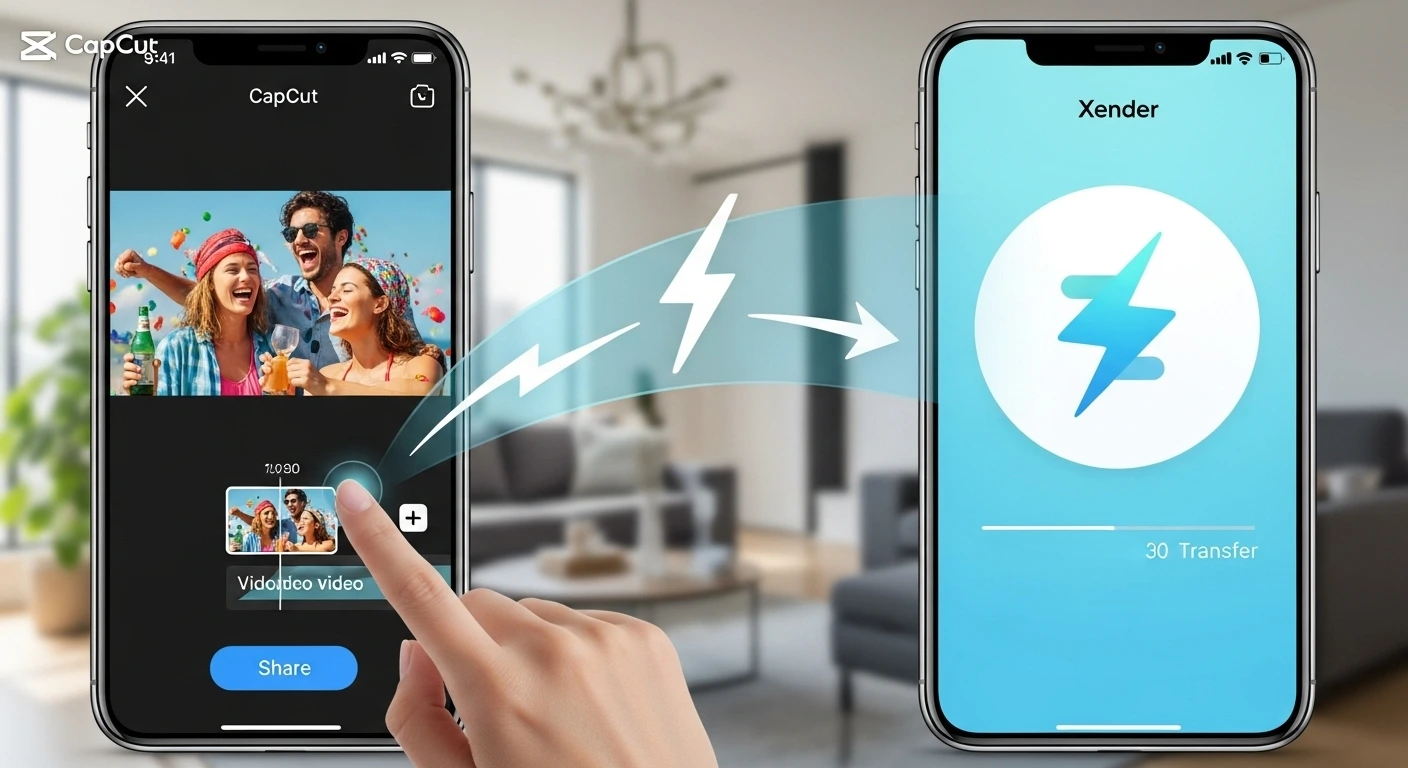
CapCut to Xender – How to Share Edited Videos Instantly
📝 1. Introduction – CapCut to Xender Video Transfer
In today’s content-driven world, short-form video editing has become a must for creators, influencers, and casual users alike. CapCut, developed by Bytedance (the creators of TikTok), has emerged as a top-tier free video editing app—renowned for its smooth interface, creative templates, and viral effects. Whether you’re crafting a TikTok reel, a YouTube Short, or an Instagram story, CapCut makes professional-style editing accessible to everyone.
But once your video is ready, how do you share it instantly, especially when you’re offline or want to avoid slow uploads?
That’s where Xender comes in—a blazing-fast file-sharing app that lets you transfer large videos, apps, and media without internet or mobile data. With Xender, users can send their CapCut-edited videos to another phone, laptop, or tablet in just seconds using a direct Wi-Fi connection.
In this article, we’ll walk you through:
- How to export your CapCut video properly
- How to locate it in your device
- How to transfer it via Xender to another phone or PC (step-by-step)
- Bonus tips for group sharing and common troubleshooting
Let’s get started with making video sharing as smooth as editing.
📤 2. Why Share CapCut Videos Using Xender?
Once your video is perfectly edited in CapCut — complete with transitions, effects, music, and captions — the next logical step is sharing it instantly with your audience, teammates, or friends. And that’s where Xender shines.
Unlike traditional sharing methods that rely on slow uploads, data usage, or cloud syncing, Xender enables lightning-fast, offline transfers of even large video files in seconds.
🚀 Here’s why Xender is the perfect match for CapCut users:
✅ 1. No Internet or Mobile Data Needed
CapCut users often want to send their video directly to another phone — maybe to upload it from a second device, send it to a friend, or preview on a different screen.
With Xender, you can share entire video files offline, even in airplane mode. Perfect for creators on the go or in low-signal zones.
✅ 2. Blazing Fast Transfer Speeds (Up to 40MB/s)
CapCut exports can range from 50MB to 1GB+ depending on the resolution.
Xender transfers these files 10–50x faster than Bluetooth — often completing a full 500MB video in under 20 seconds.
✅ 3. Zero Compression – Original Quality Maintained
When you share via WhatsApp or Messenger, the video is compressed and loses quality.
Xender preserves your full HD or 4K resolution and frame rate — which is critical for Instagram Reels, TikTok, and YouTube Shorts.
✅ 4. Cross-Platform Support (Android, iOS, Windows, Mac)
Edit on CapCut for Android → Send to iPhone
Edit on CapCut for iOS → Share to Windows via Xender Web
No matter the combination, Xender bridges the platform gap seamlessly.
✅ 5. Batch Transfers – Share Multiple Videos at Once
Exporting multiple versions of your CapCut edit? Need to send raw + final versions?
Xender allows multi-select and shares all your edited clips in one go — fast and hassle-free.
✅ 6. No File Size Limit
Unlike email, cloud links, or chat apps that impose upload limits, Xender lets you share files of any size — even full-length videos and projects.
✅ 7. Great for Collaboration & Backup
Working with a video editor, social media manager, or brand partner?
Xender is a quick way to hand off edited content without involving Google Drive or cloud links. You can even send files to your own PC as a backup.
Whether you’re an influencer sharing a TikTok clip, a teacher creating tutorial videos, or a business rep sending product edits — CapCut + Xender is the fastest, cleanest, most efficient workflow for getting your video from edit → to action.
3. Exporting Your Video from CapCut
Once your video edits are complete in CapCut, the next step is to export the final video file so it can be shared via Xender. Here’s how to do it:
✅ Step-by-Step Guide to Export from CapCut:
- Tap the Export Button
- After finishing your edits, tap the arrow icon (⬆️ or Export) in the top-right corner.
- Choose Quality & Resolution
- Select your desired resolution (e.g., 720p, 1080p, 4K) and frame rate (30/60 fps).
- We recommend 1080p at 30fps for a balance between quality and file size.
- Disable Watermark (Optional)
- If you’re using the free version, disable the watermark if prompted, or consider upgrading to CapCut Pro for watermark-free exports.
- Wait for Processing
- CapCut will process your video. This usually takes a few seconds to a minute, depending on length and quality.
- Find the Exported File
- Once done, the video is saved to your device gallery or CapCut album (under
Internal Storage > DCIM > CapCutor similar folder).
- Once done, the video is saved to your device gallery or CapCut album (under
")
📝 Pro Tip:
Rename your exported file with a meaningful name (e.g.,
Birthday_Clip_Edited.mp4) to make it easier to find when sharing via Xender.
4. Open Xender & Connect Devices
Now that your edited video is saved from CapCut, the next step is to open Xender and establish a quick connection between devices.
🧩 Steps to Connect Devices via Xender:
🔹 1. Launch Xender App
- Open the Xender app on both the sender and receiver devices.
- Ensure Bluetooth and location services are enabled on both phones for faster discovery.
🔹 2. Tap “Send” on the Sender’s Phone
- On the phone with the CapCut video, tap “Send”.
- Xender will create a hotspot and start searching for nearby devices.
🔹 3. Tap “Receive” on the Receiver’s Phone
- On the second phone (receiver), tap “Receive”.
- The device will connect to the sender’s hotspot automatically.
🔹 4. Establish Secure Connection
- Once both devices recognize each other, tap to connect.
- You’ll see a connection confirmation — now ready to transfer!
✅ Note: No mobile data or internet connection is required — Xender uses Wi-Fi Direct for ultra-fast transfer speeds.
🔧 Pro Tip:
Make sure both devices are:
- Within 10 feet of each other.
- Not running battery saver or firewall apps that can block hotspot discovery.
5. Transfer the Video File
Once both devices are connected via Xender, transferring your CapCut export is lightning fast:
🔄 Steps to Send Your Video File:
- Tap “Send” on the sender device (the one with the CapCut video).
- Browse through the file categories or use the Video tab to find your exported CapCut video (usually saved in
CapCut/Exports). - Select the video → Tap the Send button.
- The file instantly begins transferring to the connected device.
📦 Xender uses Wi-Fi Direct, which is 200x faster than Bluetooth, making it ideal for large 4K video exports from CapCut.
⚡ Pro Tip:
If you’re transferring multiple videos, you can select several files at once. Xender can handle batch transfers without any speed drops.
6. Verify and Play the Video on Receiver Device
Once the file transfer is complete, the final step is ensuring the video was received correctly and plays without issues.
🧭 Step-by-Step:
- Open the File Manager or Gallery App on the receiver’s phone.
- Navigate to the Xender > Videos folder (default download path).
- Tap the video file you just received. It should have the CapCut watermark or filename.
- Play the video using the built-in video player or preferred app (e.g., MX Player, VLC).
- Check for:
- Full video duration.
- Quality retention (HD, 1080p, 4K).
- Audio sync and watermark visibility.
💡 Pro Tip: Rename the video file immediately and back it up to Google Drive or any cloud service for safe-keeping.
🎯 Conclusion: Share CapCut Videos Easily with Xender
Transferring your CapCut-edited videos is now faster and simpler than ever with Xender Pro. Whether you’re sharing TikTok-ready edits, Instagram reels, or high-quality YouTube content — Xender ensures:
✅ Zero quality loss
✅ No mobile data used
✅ Lightning-fast wireless transfer
Forget about cables, email limits, or third-party apps — just tap, send, and enjoy!
🚀 Ready to Share Your Edits?
👉 Download Xender Pro APK and start sharing your CapCut videos effortlessly!
🔗 Helpful Links:
- 📲 How to Use Xender to Transfer Files
- 💡 A Complete Guide on CapCut App
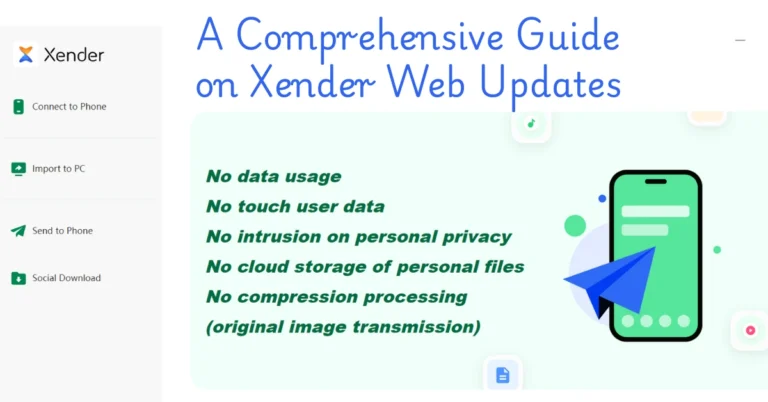
- 🔍 What is Xender Web Mode?
- 💡 Top Xender Features You Should Know
📚 FAQs – Sharing CapCut Videos with Xender (2025)
1. ❓Can I send a CapCut video directly from the app to Xender?
Answer:
CapCut doesn’t support direct sharing to Xender, but you can export your edited video to your gallery, then open Xender Pro and send it instantly to any device without losing quality.
2. ❓Does Xender compress the video quality while transferring CapCut files?
Answer:
No. Xender ensures lossless transfer of CapCut videos, preserving the original resolution, audio, and quality — even for 4K or high frame rate edits.
3. ❓How fast can I send CapCut videos using Xender Pro?
Answer:
With Xender Pro’s 40Mb/s speed, a 100MB CapCut video can be transferred in under 5 seconds — no cables or data required.
4. ❓Can I share CapCut videos from Android to iPhone using Xender?
Answer:
Yes! Xender supports cross-platform sharing, so you can send CapCut videos between Android, iOS, Windows, and Mac devices.
5. ❓What is the best format to export CapCut videos before sending with Xender?
Answer:
Export your CapCut video in MP4 format at 1080p for best compatibility and quality retention during Xender transfer.
6. ❓Is Xender a safe way to transfer my CapCut videos?
Answer:
Absolutely. Xender uses secure local wireless transfer (without internet), meaning your files are never uploaded online or stored on servers.
7. ❓Can I transfer CapCut videos using Xender Web?
Answer:
Xender Web is no longer supported in 2025. Use Xender Pro APK or the latest mobile app version for smooth transfers.
8. ❓Can I preview CapCut videos inside Xender before sending?
Answer:
Yes. In Xender’s file browser, tap the CapCut video to preview before sharing, ensuring it’s the correct file.
9. ❓What if my CapCut video is over 1GB — will Xender still send it?
Answer:
Yes! Xender Pro supports large file transfers without size limits. You can send even 2–3GB CapCut edits smoothly.
10. ❓Where are my CapCut videos saved after export?
Answer:
After exporting from CapCut, videos are saved in your device’s gallery or internal storage under the CapCut folder, ready to be shared via Xender.